
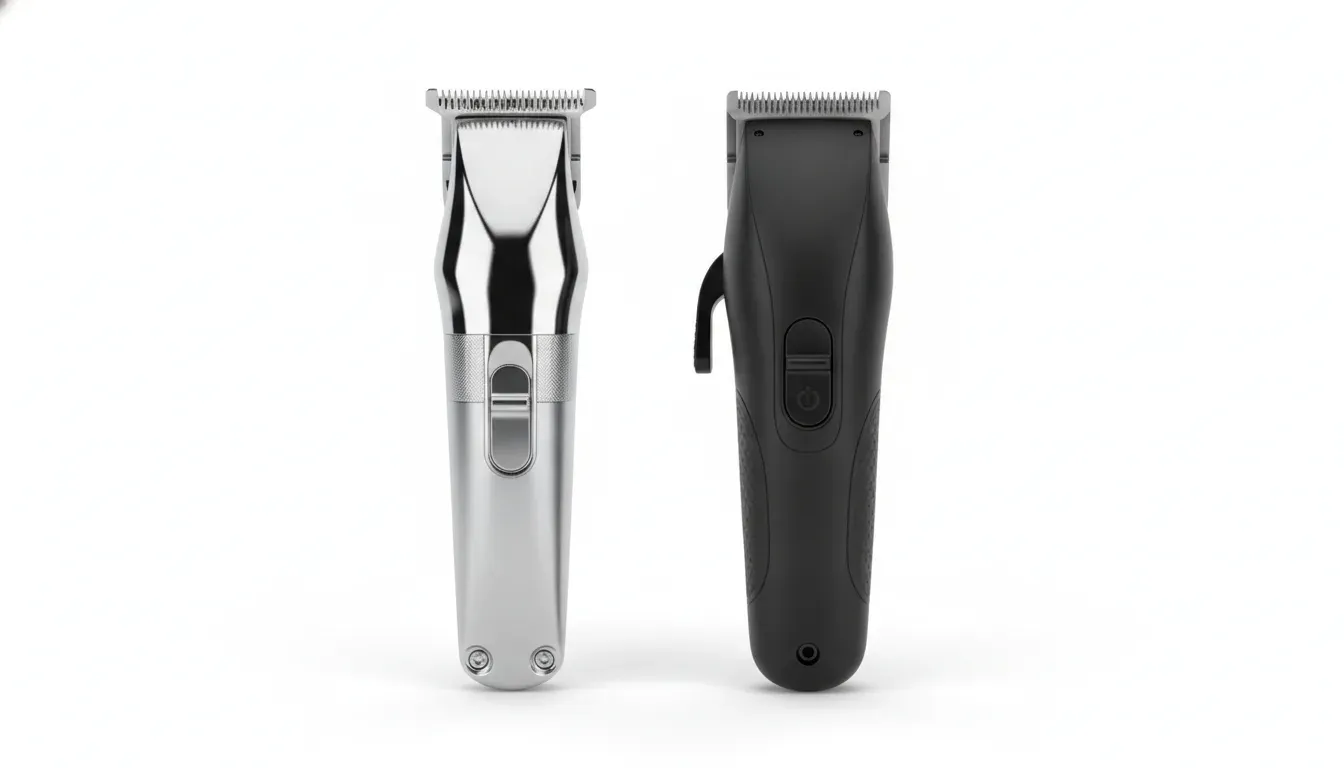
Choosing a trimmer for lineups vs fades starts with the finish you need to create, not the loudest motor claim on a product box. A crisp lineup depends on blade visibility, controlled contact, and deliberate corner work. A fade finish depends on removing a shadow, softening a transition, and moving through the blend without fighting the tool. The right trimmer can do both, but the best setup for one job may not be the best setup for the other.
By The Barber Company
How Do Lineup and Fade Finishes Differ?
A lineup trimmer is selected for visual control at the edge, while a fade-oriented trimmer is selected for controlled removal and transition work. Both need a clean blade and a predictable motor, but the barber’s hand position, stroke length, pressure, and acceptable margin for error change with the finish.
A lineup, edge-up, or detail pass asks the tool to define a border. You are working around the forehead, temples, sideburns, neckline, beard connection, or mustache line. The blade is usually presented with a short, intentional motion. Visibility matters because the cutting edge has to follow a planned shape instead of disappearing into a larger section of hair.
A fade finish asks a different question: can the trimmer help erase a remaining line without creating a new one? It may be used to soften a transition, clean a bald guideline, detail around the ears, or remove fine bulk after the clipper work is complete. The movement is often more sweeping, and the tool may need to work at several angles as the barber checks the blend from different directions.
This distinction does not mean a lineup trimmer cannot help with a fade or that a fade trimmer cannot outline. It means you should identify the dominant job first. A barber who spends most of the day creating sharp hairlines may value a visible T-blade and close control. A barber who finishes many tapers and fades may value a forgiving cutting surface, smooth movement, adjustable exposure, and a motor that stays consistent during repeated passes.
Tool Geometry That Supports Each Finish
The cutting geometry is the part of the tool that most directly meets the hair and skin. Blade width, tooth pattern, corner shape, exposure, and adjustment range all affect how confidently you can approach an edge or soften a transition. These characteristics matter more than the color, marketing name, or accessory count.
T-blade visibility for lineups
A T-shaped blade gives the barber a broad leading edge with extended corners. That shape can make it easier to see and follow a horizontal forehead line, temple angle, or neckline. It also gives you reference points when you use the corner for small corrections. The extra width is useful for laying in a straight section, while the corners help with curves and tight detail areas.
Visibility is not the same as permission to press harder. A close blade still needs a light hand, clean preparation, and an angle that suits the client’s hair and skin. If the blade is adjusted too aggressively or the barber chases closeness with pressure, irritation and accidental notches become more likely. A visible blade should improve decision-making, not encourage force.
Adjustable exposure for fade detail
An adjustable trimmer or detail tool can be useful when the finishing pass changes from removing a distinct line to softening a very small shadow. The ability to change blade exposure gives the barber more ways to approach the hair. A tighter setting can help with a stubborn edge, while a less aggressive setting can provide more forgiveness during repeated blending passes.
The useful range is the range you can control consistently. A blade that can be adjusted does not automatically create a better fade. The adjustment must stay secure, the lever or mechanism must be easy to operate without breaking your grip, and the tool must remain predictable after cleaning and oiling. For a working barber, repeatable movement beats a specification that looks impressive but is difficult to manage.
Blade corners and the margin for error
Lineups often involve corners, so the shape of the blade corners matters. A sharp corner can reach a tight temple or beard junction, but it also demands careful hand control. A rounded or less aggressive corner may be easier to use when you are softening a transition or working on sensitive areas. The same blade can perform differently depending on its adjustment and the pressure used.
Before you decide, hold the tool as you would during a real service. Check whether the front of the blade is visible, whether the housing blocks your view, and whether your thumb can reach the lever without changing your wrist angle. This practical test is more valuable than choosing from a product description alone.
Which Trimmer Is Best for Lineups?
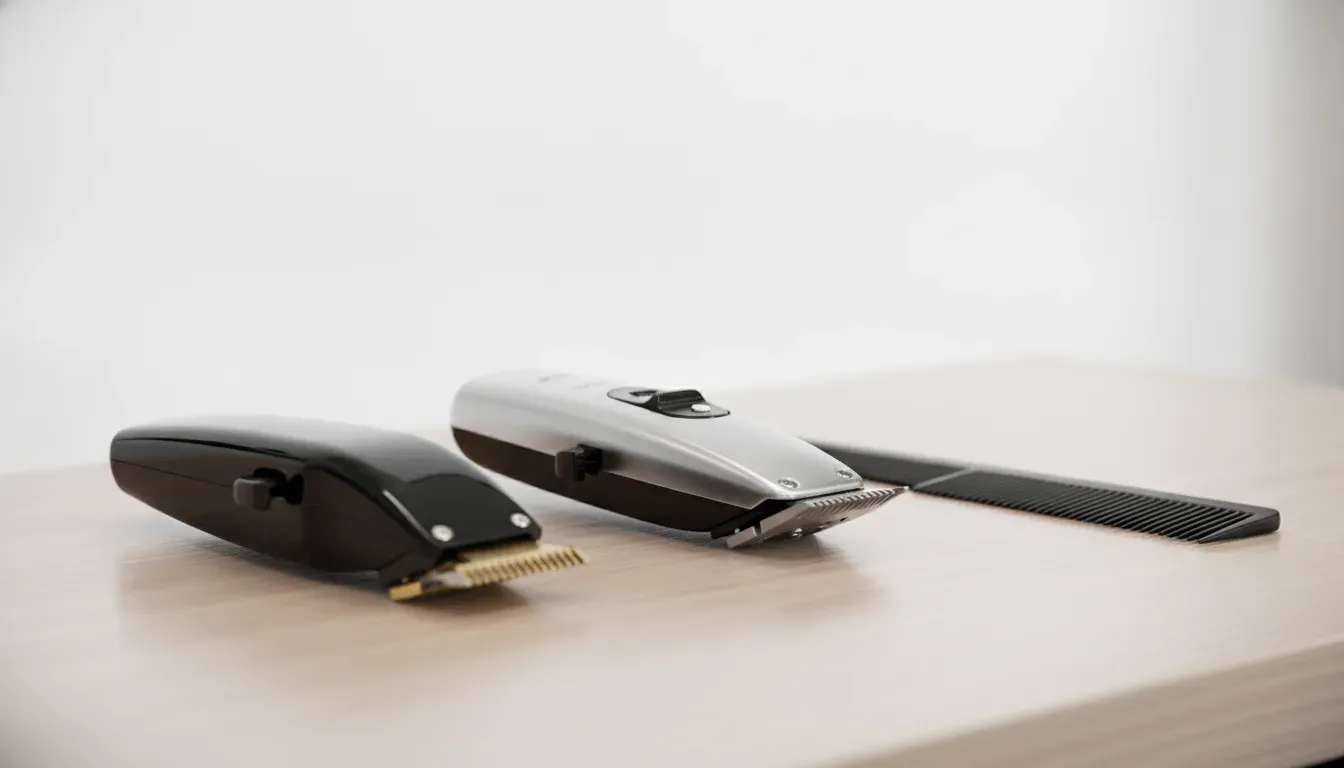
The best trimmer for a lineup is the one that lets you see the cutting edge, maintain a stable grip, and make small corrections without dragging the tool through the design. For many barbers, that means a T-blade or other wide, visible blade with a comfortable body and a close adjustment that can be used with a light touch.
Choose for the outline you repeat
Consider your most common lineup jobs. If you create many straight forehead lines, a broad T-blade may give you a useful visual reference. If you do detailed temple work, beard connections, or curved necklines, accessible corners and a compact body may matter more. If you move between clients quickly, a cordless setup can reduce cord interference, but only if the battery and charging routine fit your schedule.
Professional options at The Barber Company include trimmers and related tools from Andis Professional, Wahl Professional, Gamma+ Professional, StyleCraft, and BaByliss Pro. The goal is not to crown one brand for every barber. It is to match the blade view, body, and service pattern to the way you actually work.
Do not confuse closeness with lineup control
A very close adjustment can help create a clean edge, but closeness is only one part of control. A lineup also needs consistent pressure, correct tension in the skin, good lighting, and a blade that is clean and aligned. If you are constantly reworking the same corner, the problem may be the hand position, blade condition, or tool visibility rather than a lack of cutting power.
Test a trimmer by making several short passes at the same angle. Notice whether the motor sounds and feels consistent, whether the tool snags, and whether the blade heats quickly. A product that feels calm in your hand is easier to use accurately than one that forces you to compensate throughout the service.
When a lineup tool needs service
Uneven cutting, pulling, excessive heat, a loose blade, or a lever that will not hold its setting can make an otherwise good trimmer unreliable. Clean the tool according to the manufacturer’s guidance and inspect the blade before assuming it needs replacement. If the issue remains, The Barber Company can be a local starting point for clipper and trimmer repair service in Las Vegas.
Why Fades Need a Different Finishing Workflow
Fade work rewards a trimmer that can move through small changes in hair density without forcing the barber to reset the hand after every stroke. The finish may include a guideline, a shadow, a blend around the ear, or a transition into facial hair. A tool that is too aggressive can remove more than intended, while one that lacks consistency can leave a new line behind.
Use the trimmer after the primary blend
A trimmer is usually a finishing tool, not a replacement for every stage of the fade. Start with the clipper, guard, lever, or shear work that establishes the main shape. Then use the trimmer to address the remaining detail that its blade and size are suited to handle. This division helps you avoid asking a small detail tool to remove bulk it was not designed to manage.
Work in short zones. Check the temple, side panel, around the ear, and neckline separately. A fade can look clean from one angle and still show a line from another. Use the trimmer with the grain and against it only as the hair and finish require, and keep the tool moving instead of dwelling in one spot.
Control the contact instead of chasing the shadow
When a line is stubborn, many barbers instinctively increase pressure. That can make the blade feel more aggressive, but it does not guarantee a smoother transition. Change one variable at a time: blade setting, angle, direction, or the amount of hair you expose. A lighter pass at a better angle is often more useful than a harder pass with the same setup.
Tool balance also matters. A trimmer that sits naturally in the hand can help you rotate the wrist around the ear and maintain a consistent distance from the head. If the body is awkward, heavy at the front, or difficult to grip with control, fatigue can turn small finish decisions into inconsistent results near the end of a busy day.
Separate fade finishing from skin finishing
Some fades finish with visible skin, while others retain a soft shadow or transition into longer hair. A trimmer can help establish or clean a line, but the final skin effect may call for a foil shaver or another finishing tool. Choose the sequence according to the requested result. Do not use a close trimmer where a foil shaver is more appropriate, and do not use a shaver to solve a line that still needs controlled trimmer work.
For broader fade-clipper planning, review The Barber Company’s guide to professional barber clippers for fades. This article focuses on the narrower decision between a detail tool for the edge and a finishing tool for the blend.
Trimmer for Lineups vs Fades: A Practical Comparison
The comparison below turns the finish into a buying filter. It is not a rule that assigns one tool to one service forever. It highlights the characteristics that deserve the most attention when a barber is deciding whether the next trimmer should be an edge-first tool, a fade-finishing tool, or a flexible secondary option.
| Decision factor | Lineup and edge-up priority | Fade-finishing priority |
|---|---|---|
| Primary job | Define hairlines, temples, necklines, and beard borders | Soften guidelines, clean transitions, and detail around the ears |
| Blade preference | Visible T-blade or wide edge with useful corners | Adjustable, controlled blade that can approach changing density |
| Hand movement | Short, deliberate strokes with frequent visual checks | Short sweeps and angle changes across a transition |
| Adjustment value | Close setting is useful when it remains predictable | Range and secure adjustment are useful for softening a line |
| Ergonomic test | Can you see the edge and reach corners without twisting? | Can you rotate and move around the head without losing control? |
| Main risk | Notching the outline or irritating skin by pressing too hard | Removing too much hair or creating another visible line |
| Best secondary tool | Clipper or shaver for the rest of the finish | Clipper for bulk, or foil shaver when a skin finish is requested |
Use the table as a conversation starter with your team. A shop may keep one trimmer at every station for general detailing and reserve a second tool for lineups or fade finishing. A mobile barber may prefer one versatile cordless trimmer, while a high-volume shop may benefit from assigning tools by service so each tool gets the right maintenance and replacement attention.
How Should You Match Motor, Blade, and Ergonomics?
Motor feel, blade behavior, and ergonomics work together. A strong motor cannot compensate for poor visibility, and a close blade cannot compensate for a tool that is uncomfortable after several services. Evaluate the whole interaction: how the tool starts, how it sounds under load, how it moves through the hair, and how easily you can make a small correction.
Motor feel and cutting feedback
Barbers often describe motor behavior as smooth, fast, torquey, or responsive. Those words are useful only when tied to a service. For a lineup, you want the blade to respond immediately to small movements without making the housing difficult to stabilize. For a fade finish, you want consistent motion when the hair density changes and when you make repeated passes in a transition zone.
Do not select a motor by a number alone. Manufacturer measurements can use different testing methods, and a higher stated figure does not tell you how the tool will feel in your hand. A useful shop test is to listen for bogging, feel for vibration, and observe whether the blade remains controlled when you move from a denser area to a lighter one.
For a deeper look at motor choices, compare the practical differences in vector and rotary motor clippers. The same principle applies here: match behavior to the work instead of treating one motor type as universally superior.
Battery and station workflow
Cordless convenience matters when the tool has to move around a client or between stations. It also creates a maintenance responsibility. Establish a charging location, keep a backup plan for a depleted battery, and check the manufacturer’s care instructions. Avoid making generic runtime promises because actual use depends on the model, blade load, service pattern, and battery condition.
If you cut continuously, ask whether the tool supports the way your shop works. A removable cord, spare battery, fast charging system, or second trimmer may be more valuable than a single headline runtime. The right question is not only, “How long does it run?” It is, “What happens to my service if it needs charging during a full schedule?”
Grip, weight, and access to controls
Place your thumb and fingers where they naturally rest. Can you operate the power button or lever without changing the blade angle? Can you use the corner without your knuckles blocking your view? Does the grip remain stable when your hand is lightly coated with product or when you rotate around the ear? These details influence precision more than a decorative finish.
For professional use, a comfortable tool is also a business tool. Repeated awkward wrist positions can slow down the service and make late-day work less consistent. Compare the actual tool shape at a store when possible, or use a local supplier that can discuss how different bodies and blade formats fit different cutting habits.
Build a Two-Tool Finish System When One Trimmer Is Not Enough
Many barbers do not need one trimmer to perform every detail perfectly. A two-tool system can assign a visible edge-first trimmer to lineups and a more adjustable or forgiving tool to fade finishing. This can make setup, cleaning, and replacement decisions easier, especially when multiple barbers share a station or a shop has a high appointment volume.
Primary lineup tool
Choose the lineup tool for the edge work that defines your signature. Check blade visibility, corner access, close adjustment, balance, and the ability to make controlled short strokes. Keep it clean and aligned, and avoid using it as a substitute for a clipper when bulk removal is the real need.
Secondary fade-finishing tool
Choose the second tool for blending details that change from client to client. Look for a stable adjustment, comfortable movement, and a motor that does not feel inconsistent when the hair becomes lighter. It should complement your primary clipper, not duplicate every feature on the station.
Assign tools by service, not by color
In a busy shop, label tools by function in your station system without relying on brand color or appearance. The trimmer that is excellent for a sharp lineup may not be the one a newer barber reaches for when softening a transition. A simple service assignment helps everyone use the right tool and report the right issue when performance changes.
The Barber Company serves professional barbers and the public, so you can get product guidance without needing to approach the purchase as a one-size-fits-all recommendation. Browse the local barber supply selection in Las Vegas, or contact the store to compare options based on your cutting workflow.
Maintenance Protects Both Lineup Precision and Fade Control
Maintenance is part of the finish. Hair, product residue, skin oils, and moisture can change how a blade moves and how evenly it cuts. A clean, lubricated, correctly assembled trimmer gives you a more reliable starting point. It also makes it easier to tell whether a problem comes from technique, adjustment, blade wear, or the tool itself.
Clean before applying oil
Remove loose hair and visible residue before oiling. Use the manufacturer’s instructions for the specific tool, especially if the blade can be rinsed or if the housing has a particular cleaning limitation. Do not flood the tool with liquid or assume that a disinfectant substitutes for mechanical cleaning. The Andis T-Outliner product page is one example of an official manufacturer reference to consult when reviewing a T-blade tool and its intended design.
For a repeatable station routine, follow the steps in The Barber Company’s guide to cleaning barber clippers and trimmers. The sequence matters: remove debris, use the correct disinfecting method, dry the tool as directed, and apply the appropriate amount of oil to the cutting surfaces.
Check alignment and heat
Look at the blade from the front and side. Watch for movement, a visible gap that has changed, loose screws, or a blade that no longer sits squarely. During a service, pay attention to unusual heat, pulling, sound, or vibration. These signs should prompt a pause and inspection rather than a harder pass on the client’s hairline.
Zero gapping is a precision adjustment, not a universal upgrade. A close setting can change how the tool contacts hair and skin, so it should be evaluated for the model, the user’s technique, and the client’s sensitivity. When you need a professional adjustment, review the zero-gapping service in Las Vegas rather than forcing a risky home adjustment.
Know when sharpening or repair is the better choice
If a blade feels dull, repeated oiling may not solve the problem. If the motor is inconsistent, blade alignment alone may not solve it. Keep a simple note of the symptom, the tool, and when it appears. That makes it easier for a technician to understand whether the issue is pulling, heat, noise, poor battery performance, or a damaged cutting surface.
Use the professional blade sharpening service when the cutting surface needs skilled attention, and review clipper and trimmer maintenance guidance for the daily routine that supports the repair. Proper care can protect the finish you bought the tool to create.
Choose Your Trimmer With the Finish Test
The finish test is simple: describe the last part of your service, then choose the tool that makes that step more controlled. If the job is a crisp edge, prioritize blade visibility, corners, and close control. If the job is a softened transition, prioritize predictable adjustment, balanced movement, and a motor that feels consistent through changing density.
Before purchasing, write down the three services that use a trimmer most often in your chair. Note whether you work mostly on lineups, fades, beard borders, necklines, or detail cleanup. Then compare the trimmer’s blade shape, adjustment, grip, charging setup, and serviceability against that list. A tool that fits the work you repeat is more valuable than a tool chosen only because it is popular.
For local product access, visit The Barber Company professional barber supply store. The store serves working barbers, shop owners, students, and grooming customers, with wholesale guidance for professional accounts and retail access for the general public. If you need to restock without interrupting the day, ask about free local delivery on qualifying orders across the Las Vegas valley.
Frequently Asked Questions
This FAQ summarizes the buying decision in practical terms. Use the finish you perform most often as the anchor, then confirm blade condition, adjustment, ergonomics, and maintenance support before choosing a model. When the answer depends on a specific tool, check the manufacturer’s instructions and ask for model-specific guidance.
Which trimmer is best for lineups?
A trimmer with a visible T-blade, accessible corners, stable close adjustment, and a comfortable grip is often a strong lineup choice. The best model still depends on your hand position, the hairline shapes you create, and how aggressively or lightly you work. Test visibility and control rather than choosing by brand name alone.
Which trimmer is best for fades?
For fade finishing, look for predictable adjustment, smooth movement, a balanced body, and consistent motor feedback as hair density changes. A trimmer should complement your primary clipper and help soften detail lines without forcing pressure. If the requested finish reaches the skin, a foil shaver may be a better final tool for that step.
Can the same trimmer handle lineups and fades?
Yes. A versatile trimmer can handle both when the barber understands its blade, adjustment, and safe working angle. The tradeoff is that one tool may not be ideal for every detail. If lineups and fade finishing demand different settings or hand movements in your workflow, a two-tool setup can provide more control.
Does zero gapping make a trimmer better for lineups?
Zero gapping can make a blade cut closer, but it does not automatically make the tool safer or more accurate. The adjustment needs to suit the specific model and the barber’s technique. A professional adjustment is preferable when you are unsure, because excessive exposure can increase the risk of irritation, snagging, or accidental marks.
How often should a barber clean a trimmer?
Clean the trimmer after each service according to the manufacturer’s instructions, removing hair and residue before disinfecting or oiling as directed. High-volume use may require additional checks during the day. Watch for heat, pulling, or changed blade behavior, because those signs can indicate that the tool needs attention before the next client.
Shop professional barber tools: The Barber Company at barbersupplies.vegas
Follow The Barber Company: @barbercompanylv on Instagram
Visit: 4700 Meadows Ln #110, Las Vegas, NV 89107
Call: (702) 900-9972.