
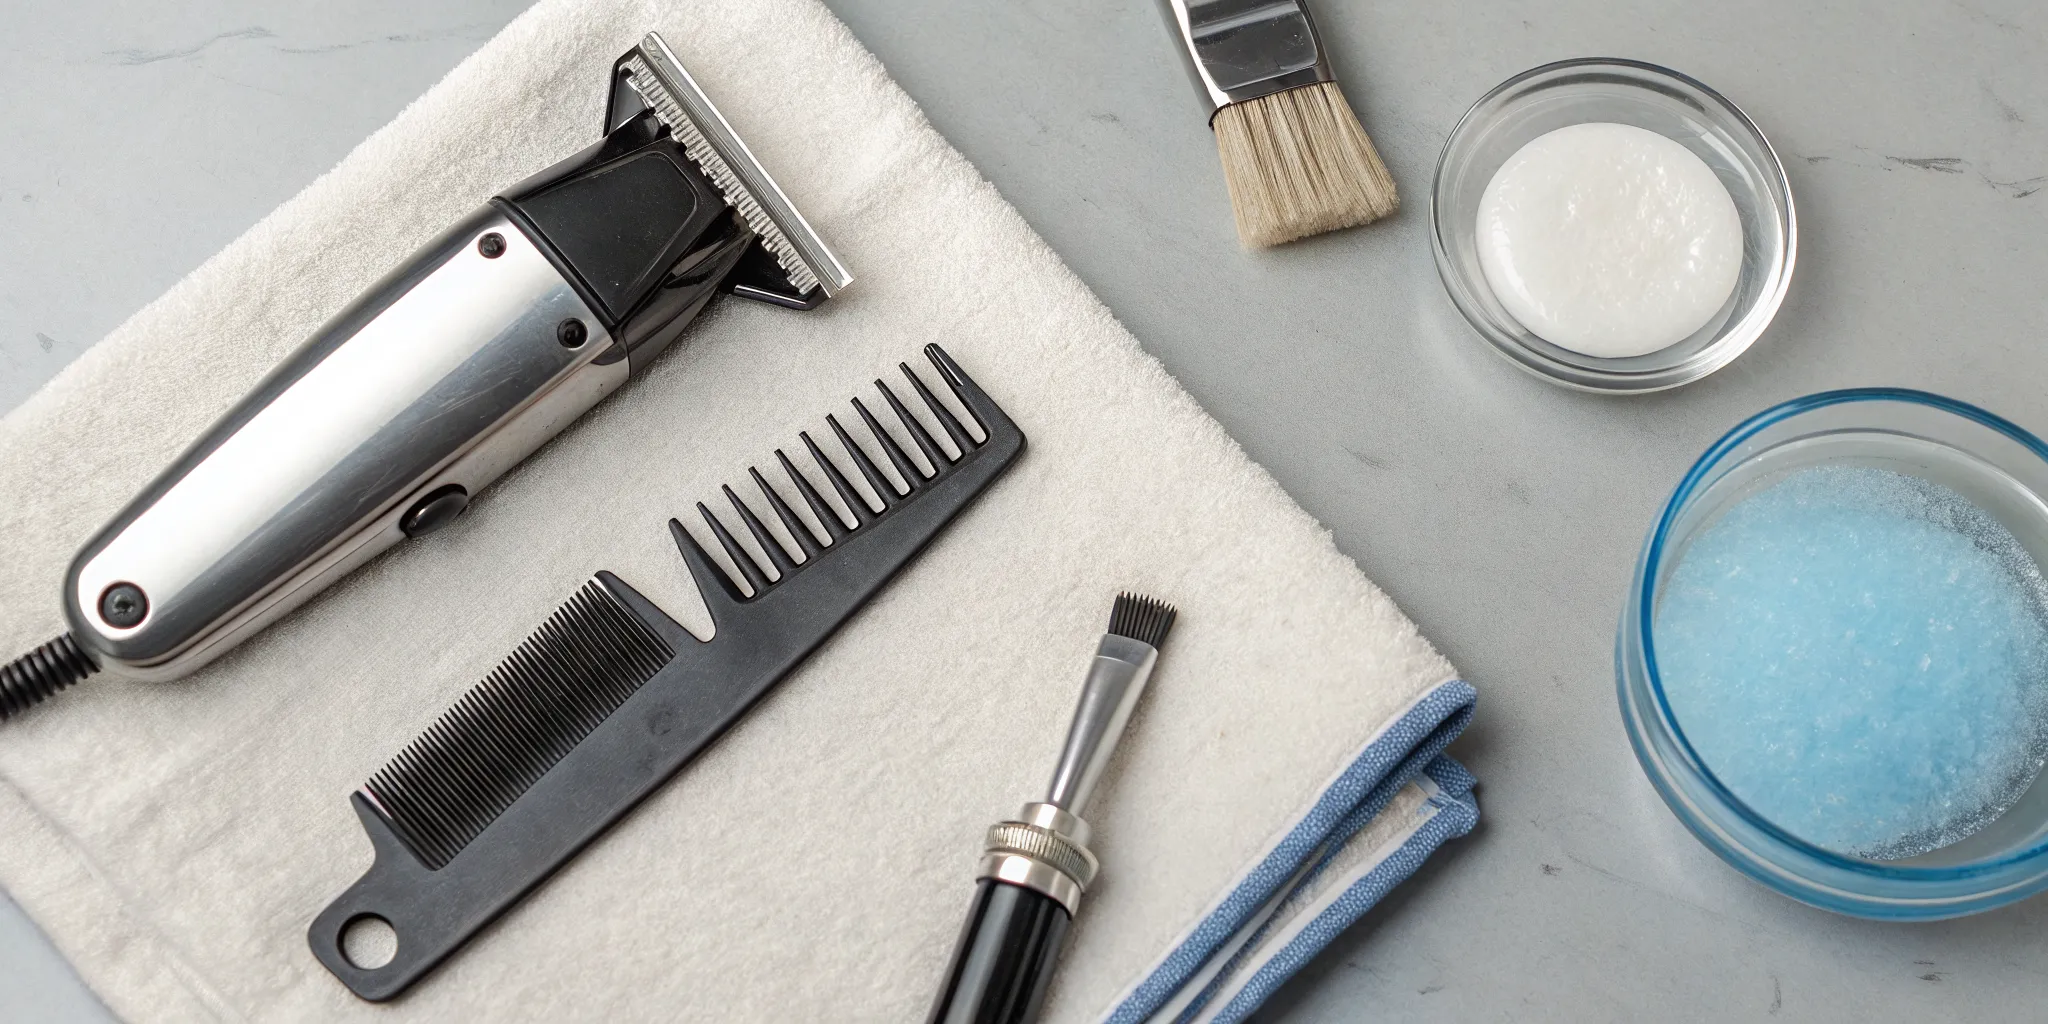
We’ve all been there. You’re in the middle of a fade, and your clippers start snagging hair or feeling unusually hot. You might assume the blades are dull or the motor is failing, but the real culprit is often much simpler: buildup. Tiny hairs, skin particles, and styling products create friction and force your clippers to work overtime. Before you spend money on repairs or new blades, a solid cleaning routine can solve most performance issues. This article breaks down the essential steps for how to clean professional barber clippers, transforming them from sluggish and unreliable to sharp, cool, and efficient tools.
Key Takeaways
- Clean for Client Safety and Clipper Performance: Regular cleaning is non-negotiable; it protects clients from skin infections and prevents hair buildup that dulls blades and wears out the motor.
- Follow a Daily and Weekly Cleaning Schedule: After each client, brush off hair and use a disinfectant spray. Once a week, take the blades apart for a deep clean in a blade wash solution to remove hidden grime.
- Always Oil Your Blades After Cleaning: Disinfectants strip away lubrication, so applying a few drops of clipper oil is essential to reduce friction, prevent rust, and keep your blades cutting smoothly.
Why You Must Clean Your Barber Clippers
Keeping your clippers clean is one of the most important parts of being a professional barber. It’s not just about looking tidy; it’s a fundamental practice that directly impacts your clients’ health, the quality of your work, and the longevity of your most essential tools. Think of it less as a chore and more as a non-negotiable step that protects your clients, your reputation, and your investment. A consistent cleaning routine is the foundation of a successful and professional barbering career.
Protect clients from hygiene risks
Your first priority is always your client’s safety. Every time you use your clippers, they can come into contact with microscopic germs. Without proper sanitation, you risk transferring bacterial skin infections, fungal issues like ringworm, or even parasites between clients. Since clippers can cause tiny, invisible nicks in the skin, it creates an easy pathway for these germs to enter the body.
Beyond the serious health risks, maintaining a clean station shows your clients that you are a true professional who cares about their well-being. Proper sanitation builds trust, which is essential for creating a loyal customer base that not only returns but also recommends you to others. A clean workspace is a direct reflection of your high standards.
Improve clipper performance and lifespan
Your clippers are a significant investment, and proper care is the best way to protect them. Over time, tiny hairs, skin particles, and product residue get trapped between the blades. This buildup forces the motor to work harder, which can lead to overheating, slower performance, and blades that pull hair instead of cutting it cleanly. Many common clipper problems are caused by insufficient lubrication and hair buildup.
Regularly cleaning and oiling your clippers keeps the blades moving freely and reduces friction.
If cleaning and lubrication do not correct persistent pulling, heat, or power loss, the next step is a Las Vegas clipper repair service assessment.
This simple habit not only ensures you get a crisp, clean cut every time but also extends the life of the motor and blades. A well-maintained tool performs better and lasts longer, saving you the cost and hassle of frequent repairs or replacements.
Your Clipper Cleaning Toolkit
Build your kit with professional supplies from wholesale barber equipment and supplies in Las Vegas, then keep the cleaning essentials together at your station.
Before you can master the cleaning process, you need the right tools on hand. Keeping a dedicated cleaning kit at your station makes it easy to build a consistent routine. You don’t need a lot of fancy equipment, just a few key items that will keep your clippers hygienic and running smoothly for years to come. Think of these as the non-negotiables for protecting your clients, your tools, and your reputation. Having everything in one place removes any friction, so you can clean your clippers properly after every single cut without a second thought.
Cleaning brushes
A small, stiff-bristled brush is your first line of defense against buildup. Most clippers come with one, but any similar brush will do the job. Its purpose is simple: to physically remove loose hair, skin particles, and product residue from the blades and housing. You should get into the habit of giving your clippers a quick but thorough brush-down after every client. This simple step prevents hair from getting packed into the blade assembly, which can slow down your motor and lead to duller, less precise cuts over time.
Blade wash and disinfectant sprays
While brushing removes visible debris, it doesn’t sanitize your tools. That’s where blade washes and disinfectant sprays come in. These solutions are formulated to kill bacteria, fungi, and viruses, which is essential for client safety. A good disinfectant will prevent rust and keep blades sharp, ensuring your clippers are always ready for the next person in your chair. Some products, often called 5-in-1 sprays, also cool, lubricate, and clean the blades simultaneously, making them a very efficient choice for busy barbers.
Clipper oil
Clipper oil is crucial for maintaining the health and longevity of your blades. After cleaning and disinfecting, the metal can be left dry, creating friction that generates heat and wears down the blades faster. Applying a few drops of clipper oil reduces this friction, allowing the blades to glide smoothly. This not only results in a better cut but also prevents the blades from rusting. Make it a rule to oil the blades after every cleaning, which really means after every haircut. It’s a small step that makes a huge difference in performance.
Isopropyl alcohol as a backup
If you run out of your usual disinfectant spray or blade wash, 70% isopropyl alcohol is a reliable backup. It’s an effective disinfectant that can get you through in a pinch. You can pour a small amount into a shallow dish and dip the running blades into it for about 10 to 20 seconds to sanitize them. Just remember that alcohol can be very drying on metal, so it’s extremely important to wipe the blades dry and apply clipper oil immediately afterward to prevent any chance of rust forming.
How to Clean Clippers After Every Client
A quick, consistent cleaning routine between clients is non-negotiable. It’s the foundation of a safe, professional service that protects your clients and keeps your tools in prime condition. This five-step process is fast, easy to incorporate into your workflow, and makes a huge difference in your clippers’ performance and longevity. Think of it as a reset button after every haircut, ensuring you’re ready for the next person in your chair with perfectly clean and sanitized tools.
Taking these few minutes shows respect for your clients and your craft. It prevents cross-contamination, reduces the risk of skin infections, and ensures your expensive clippers cut smoothly and efficiently every single time. Neglecting this can lead to dull blades, poor performance, and an unsanitary environment that can damage your reputation. When hair and skin particles build up, they not only harbor bacteria but also cause the blades to drag, pull hair, and work harder than they should. This extra strain can wear down the motor and dull your blades prematurely. By making this quick clean a habit, you’re not just practicing good hygiene; you’re also performing essential preventative maintenance that saves you money on repairs and replacements in the long run.
Step 1: Brush away hair and debris
First things first, get rid of the physical evidence. Before you even think about disinfectants, you need to brush off all the loose hair and skin debris from the clipper blades and housing. Use a soft-bristled clipper brush for this, paying special attention to the area between the teeth of the blade. As one barber on Reddit advises, you should always “brush off any hair from the blades” as the initial step. This prevents hair from getting caked on and makes the disinfecting step much more effective. It’s a simple habit that takes seconds but prevents performance issues down the line.
Step 2: Disinfect the blades
With the loose hair gone, it’s time to sanitize. Disinfecting your blades is crucial for killing bacteria and preventing the spread of skin infections between clients. For a quick daily clean, you can dip the blades for 10-20 seconds in at least 70% isopropyl alcohol. You can also use a 5-in-1 spray like Andis Cool Care or Clippercide, which disinfects, cools, and lubricates all at once. After applying your disinfectant, be sure to wipe the blades completely dry with a clean, soft cloth. This prevents moisture from causing rust and ensures your tools are ready for the next step.
Step 3: Dip the blades in blade wash
For a slightly deeper clean that doesn’t require taking the clipper apart, a blade wash is your best friend. This solution is specifically designed to flush out any stubborn hair, dirt, and product buildup that the brush might have missed. Pour a small amount of blade wash into a shallow container or the lid of the bottle. With the clippers running, dip only the blades into the wash for a few seconds. You’ll see the gunk wash away. Tilt the clipper to the side to let any excess solution run out, then wipe the blades dry.
Step 4: Oil the blades
After disinfecting and cleaning, you must re-lubricate the blades. Disinfectants, especially alcohol-based ones, can strip away the oil that keeps your blades moving smoothly. Oiling is essential to reduce friction, prevent overheating, and protect against corrosion. You only need a tiny amount. Apply one drop of clipper oil to each corner of the top blade and one drop in the middle. Turn the clippers on for a few seconds to distribute the oil evenly. As experts recommend, you should oil your blades to stop them from rusting and keep them cutting perfectly.
Step 5: Store your clippers
Finally, where you store your clippers matters. Tossing them into a drawer can misalign or damage the blades. After cleaning and oiling, place your clippers in a designated holder or on a clean mat with the blade protected. This keeps them safe and contributes to the overall hygiene of your station. Remember, a tidy workspace is about more than just appearances. A clean shop shows clients you prioritize their safety and well-being, building trust and encouraging them to return. It’s the final touch that signals your professionalism and attention to detail.
Best Products for Cleaning and Disinfecting Blades
Walking down the supply aisle, you’ll see tons of options for clipper care. It can be a little overwhelming, but picking the right product is key to keeping your tools in top shape. Let’s break down the three main players in the clipper cleaning game: all-in-one sprays, dedicated blade washes, and simple isopropyl alcohol. Each has its place in your routine, whether you’re doing a quick cleanup between clients or a full deep clean at the end of the week.
5-in-1 sprays like Cool Care and Clippercide
Think of these sprays as the Swiss Army knife of clipper care. Products like Andis Cool Care and Clippercide are fantastic for quick, efficient maintenance between appointments. A quick spritz cools down hot blades, disinfects on contact, and provides light lubrication to keep everything running smoothly. This all-in-one solution also helps blast out tiny hair clippings and prevent rust from forming on your blades. Using a 5-in-1 spray is a simple step that extends the life of your clippers and keeps them performing at their best, client after client.
Blade wash solutions
For a more thorough cleaning, a dedicated blade wash is your best friend. These solutions are designed to dissolve gunk and get rid of stubborn hairs that brushes can’t reach. To use one, pour a small amount into a shallow container and dip only the blades into the wash while the clippers are running. Let them run for a few seconds to allow the liquid to work its way through the teeth. This method is incredibly effective for a weekly deep clean. Just remember to keep the liquid away from the clipper’s body and motor to avoid damage.
Isopropyl alcohol
Good old isopropyl alcohol is an effective and affordable disinfectant. If your blade wash doesn’t have disinfecting properties, alcohol is a great follow-up step. After brushing off hair, you can dip the blades in alcohol for about 10 to 20 seconds to kill any remaining germs. Once you take them out, be sure to dry them completely with a soft cloth to prevent rust. Alcohol is a powerful degreaser, so it will strip away any oil. This means you absolutely must re-oil your blades after using it to keep them lubricated and protected.
How to Deep Clean Your Blades Weekly
A quick clean between clients is essential, but a weekly deep clean is what separates good clippers from great ones. This is your chance to get rid of the stubborn buildup that a surface-level spray and brush can’t reach. Taking the time to disassemble and thoroughly clean your blades once a week keeps them cutting smoothly, prevents rust, and extends their lifespan. Think of it as a spa day for your most important tool. This regular maintenance ensures your clippers deliver top performance, which means happier clients and better cuts.
Remove and soak the blades
First things first, you need to get inside. Before you do anything, make sure your clippers are unplugged. To get a true deep clean, you have to take the blades apart. For most models, you can unscrew the lever screw (not the two main screws holding the blade) to separate the cutting blade from the guide blade. This gives you access to all the surfaces where hair and skin particles love to hide. Once they’re apart, use your nylon brush to get rid of any loose hair. Then, place the individual blade pieces into a shallow tray or the cap of your blade wash container.
Use blade wash the right way
Now that your blades are disassembled, it’s time to give them a proper bath. Pour a professional blade wash solution into a shallow dish, just enough to cover the blades. Let them soak for the time recommended on the product label, which is usually around 10 minutes. This will dissolve any grime and disinfect the metal. After soaking, use a small, stiff brush (an old toothbrush works great for this) to scrub away any remaining residue. Pay special attention to the teeth and the areas around the screw holes. Once they’re sparkling, remove them from the wash and pat them completely dry with a clean, lint-free cloth.
Reassemble and check blade alignment
Putting your clippers back together correctly is just as important as cleaning them. After all, even the sharpest blades won’t perform well if the clippers aren’t serviced regularly. Once the blades are completely dry, carefully reassemble them. Before you tighten the screws all the way, you need to check the blade alignment. The top cutting blade should be set back slightly from the bottom guide blade to prevent the clippers from nicking your clients. Once aligned, tighten the screws, add a few drops of clipper oil, and run the clippers for a few seconds to distribute it.
Your Clipper Cleaning Schedule
Consistency is your best friend when it comes to clipper care. Instead of waiting for problems to appear, a simple schedule will keep your tools in top shape, protect your clients, and save you money on repairs. Think of it as a non-negotiable part of your professional routine, just like sweeping your station. A little effort after each cut, a deeper clean each week, and a quick check-in each month will make all the difference. This rhythm ensures your clippers perform reliably day in and day out.
After every client
Your responsibility for client safety means you need to clean and disinfect your tools between every single appointment. There are no exceptions here. After brushing off loose hair, a quick spray with a disinfectant like Clippercide is an effective way to sanitize your blades without having to submerge them in liquid. This daily habit is the most important step in maintaining hygiene and preventing the spread of bacteria. It only takes a minute, but it shows your clients you take their well-being seriously and protects the integrity of your craft.
Weekly deep clean
Set aside time once a week for a more thorough cleaning. This is when you’ll give your blades the attention they need to keep running smoothly. For this deeper clean, you can use a special blade wash. A common method is to pour a small amount of the wash into a shallow container and dip the teeth of the clipper blades into the solution while the motor is running. This allows the wash to work its way into all the small crevices, clearing out any stubborn debris or oil buildup. This weekly routine keeps your tools hygienic and performing at their best.
Monthly maintenance check
Once a month, give your clippers a quick health check. This is all about catching small issues before they become big problems. Turn your clippers on and just listen. Do you hear any unusual noises or rattling? Does the clipper feel excessively hot in your hand, or have you noticed it snagging hair? These are clear warning signs that something is off. Most performance issues come from hair buildup or not enough lubrication. A monthly check helps you stay on top of oiling and cleaning, ensuring your clippers have a long and productive life at your station.
Blade Maintenance Tips Beyond Cleaning
A spotless clipper is a great start, but true tool maintenance goes a little deeper. Think of it like owning a car; you can wash it every day, but it still needs regular oil changes and tire rotations to run smoothly. Your clippers are the workhorses of your station, and giving them a bit of extra attention will pay off in performance and longevity. Beyond your daily and weekly cleaning routine, a few key habits can protect your investment and keep your cuts consistently sharp. These practices are what separate a good barber from a great one.
These maintenance steps help you spot problems before they start, ensuring your clippers don’t fail you mid-fade. From knowing the lifespan of your blades to storing your tools correctly, these tips will help you build a complete care system that keeps your clippers in prime condition for years to come. It’s a professional habit that not only extends the life of your most important tool but also reinforces the trust your clients place in you. When your equipment is in top shape, your work reflects that quality. Taking these extra steps shows a commitment to your craft that clients notice and appreciate.
Know when to sharpen or replace your blades
Even the best-cared-for blades will eventually lose their edge. When blades become dull, they can pull hair and create uneven lines, which not only affects the quality of your work but also puts extra strain on the clipper’s motor. If you notice your clippers aren’t cutting as crisply as they used to or are snagging hair, it’s time to act. You can either send them out for professional sharpening or purchase replacement blades. While sharpening can extend a blade’s life, there comes a point where a fresh set is the best option for guaranteeing clean, precise cuts for your clients.
Store your clippers correctly
How you store your clippers between clients and at the end of the day matters. Tossing them into a drawer or leaving them loose on your station risks damage to the blade, housing, and cord. Proper storage, like placing them in a protective case or a designated spot on a clean shelf, prevents accidental drops and keeps them safe from dust and debris. A well-organized station also contributes to overall barber sanitation, showing clients that you run a clean, professional business where they can feel safe and cared for. It’s a small habit that makes a big difference in the lifespan of your tools.
Know when to get professional service
You know your tools best, so learn to listen to them. If your clippers start making unusual noises, feel excessively hot to the touch, or continue snagging hair even after cleaning and oiling, these are clear signals that something is wrong internally. While you can handle daily maintenance, some issues require an expert. Instead of trying to fix a motor or complex alignment problem yourself, it’s often best to seek professional servicing. A technician can diagnose the root cause and get your clippers back to optimal condition, saving you the cost of a full replacement and preventing a tool failure during a busy workday.
Common Clipper Cleaning Mistakes to Avoid
A solid cleaning routine is just as much about what you don’t do as what you do. Even with the best intentions, a few common missteps can shorten the life of your clippers, hurt their performance, or even pose a hygiene risk to your clients. We’ve all learned a lesson or two the hard way, but you don’t have to. By avoiding these simple mistakes, you can keep your tools in prime condition and save yourself the headache and cost of repairing or replacing them prematurely.
Think of it as protecting your investment. Your clippers are one of the most important tools in your kit, and treating them right pays off with every cut. From how you use liquids to the final steps after a deep clean, getting the details right makes all the difference. Let’s walk through the most frequent cleaning errors so you know exactly what to watch out for.
Soaking the entire clipper in liquid
It might seem like the fastest way to get your clippers clean, but please, never submerge the entire unit in water or blade wash. The clipper body contains the motor and other electrical components that are not waterproof. Soaking it will almost certainly lead to rust, corrosion, and a fried motor. Instead, stick to using a disinfectant spray on the blades or detaching the blades to clean them separately. If you’re using a blade wash, only dip the tips of the blades in while the clipper is running. This method cleans effectively without putting the motor at risk.
Skipping oil after disinfecting
Disinfecting is essential for hygiene, but many disinfectants and blade washes strip the blades of their lubrication. If you skip the oiling step afterward, you’re forcing the blades to operate with a lot of friction. This friction generates heat, makes the motor work harder, and will dull your blades in record time. Always apply a few drops of clipper oil after every single time you disinfect. This simple habit is one of the most effective ways to ensure smooth operation and extend the life of both your blades and the clipper motor.
Using too much oil
While oil is critical, more is not better. Drenching your blades in oil is counterproductive because the excess will attract hair clippings, dust, and dirt. This creates a sticky, gunky buildup that can clog the blades and make them sluggish. A little goes a long way. Just two or three drops of oil spread across the top of the blades and a drop on each side rail is plenty. This provides the lubrication you need without creating a mess that can impair the clipper’s performance.
Getting liquid near the motor
This is closely related to the no-soaking rule but deserves its own mention. You need to be careful to keep all liquids, whether it’s water, disinfectant, or blade wash, away from the clipper’s body and motor housing. Moisture seeping into the internal parts can cause serious damage that isn’t always immediately obvious. When you spray or clean your blades, angle the clipper so that gravity works with you, pulling any drips away from the motor. A dry motor is a happy motor that is far less likely to have issues that impede the smooth operation of your clippers.
Forgetting to disinfect between clients
This is one of the biggest mistakes a professional can make. Simply brushing off loose hairs is not enough to prepare your clippers for the next person in the chair. Without proper disinfection, you risk the spread of bacteria, fungi, and other pathogens from one client to another. It’s a serious hygiene issue that can damage your reputation and, more importantly, harm your clients. Make it a non-negotiable habit to brush off hair and then thoroughly apply a 5-in-1 disinfectant spray after every single use. It only takes a minute and is a core part of being a responsible professional.
Ignoring blade alignment after reassembly
After you’ve taken your blades apart for a deep clean, you can’t just screw them back on and call it a day. You must check the blade alignment before using the clippers again. If the blades are misaligned, they can pull hair, create uneven lines, or even cut your client’s skin. To check, make sure the top cutting blade is set back slightly from the bottom blade. Taking a moment to ensure optimal performance through proper alignment protects your clients and ensures your clippers deliver the sharp, clean results you expect.
Create a Cleaning Routine That Sticks
Knowing how to clean your clippers is one thing, but actually doing it consistently is what separates the pros. The best way to ensure your tools are always in top shape is to build a solid routine. When cleaning becomes a habit rather than a chore, you protect your clients, extend the life of your clippers, and maintain a professional workspace without even thinking about it. A good routine is built on simple, repeatable steps that fit right into your daily workflow, making clipper care second nature.
Adopt daily habits
The most effective routines are built on small, consistent actions. Instead of letting hair and product build up, make it a rule to clean your clipper blades every single day. A quick brush-off and disinfection after your last client takes only a few minutes but prevents future problems and ensures you start fresh the next morning. This simple practice is one of the most essential tips for cleaning your hair clippers and makes your weekly deep cleans much faster. It’s a small investment of time that pays off in clipper performance, longevity, and client safety.
Set weekly and monthly checkpoints
While daily cleaning is crucial, you also need to schedule time for more thorough maintenance. Many clipper performance issues come from a lack of lubrication and hidden hair buildup. To prevent this, set a recurring appointment on your calendar for a weekly deep clean, perhaps every Friday afternoon. During this time, you’ll do a full blade takedown and soak. You should also add a monthly check to inspect for blade dullness and listen for any changes in the motor’s sound. This proactive approach is key to mastering clipper maintenance and avoiding unexpected breakdowns during a busy day.
Keep your station stocked
You can’t stick to a routine if you don’t have the right supplies on hand. Keeping your clippers clean is just as important as knowing how to execute a perfect fade, so treat your cleaning toolkit with the same respect. Designate a specific spot at your station for your brushes, disinfectant sprays, blade wash, and clipper oil. When everything is organized and within reach, you’re more likely to use it. Remember, proper barber sanitation does more than protect your clients; it builds trust and shows everyone who sits in your chair that you’re a true professional.
Frequently Asked Questions
Why can’t I just brush the hair off and skip the disinfectant spray? Brushing away hair is a great first step, but it only handles the debris you can see. The real risk comes from the microscopic germs left behind. Disinfectant sprays are what actually kill the bacteria and fungi that can cause skin infections or ringworm. Think of it this way: brushing cleans the surface, but disinfecting protects your client’s health. It’s a crucial step that shows you’re a true professional who prioritizes safety.
What’s the real difference between a 5-in-1 spray and a blade wash? They serve two different purposes in your routine. A 5-in-1 spray is your go-to for quick maintenance between clients; it cools, disinfects, and lubricates the blades in seconds. A blade wash is for a more intensive, deep clean. You use it to soak or flush the blades to dissolve stubborn gunk and hair buildup that a simple spray can’t reach. Use the spray after every cut and the blade wash weekly.
My clippers are pulling hair even after I clean them. What should I do? This is a common issue, and it usually points to one of two things. First, double-check that you are oiling your blades after every single cleaning. Disinfectants can strip away lubrication, causing friction that snags hair. If you’re oiling them correctly and they still pull, your blades are likely dull. At that point, it’s time to either have them professionally sharpened or invest in a replacement set to get back to those clean, crisp cuts.
Is it okay to just use isopropyl alcohol instead of other products? You can use 70% isopropyl alcohol as a disinfectant in a pinch, but it shouldn’t be your primary cleaning solution. Alcohol is very effective at killing germs, but it’s also extremely drying to the metal blades. If you use it, you must wipe the blades completely dry and apply clipper oil immediately afterward to prevent rust and reduce friction. A 5-in-1 spray is often a better choice because it disinfects and lubricates at the same time.
How often do I really need to do a deep clean where I take the blades apart? Doing a full deep clean once a week is the professional standard. This weekly habit is what prevents the gradual buildup of hair and oil that can slow down your motor and cause performance issues over time. While it might feel like a chore, sticking to a weekly schedule for this task will make your clippers run better, last longer, and save you from unexpected tool failures during a busy day.