
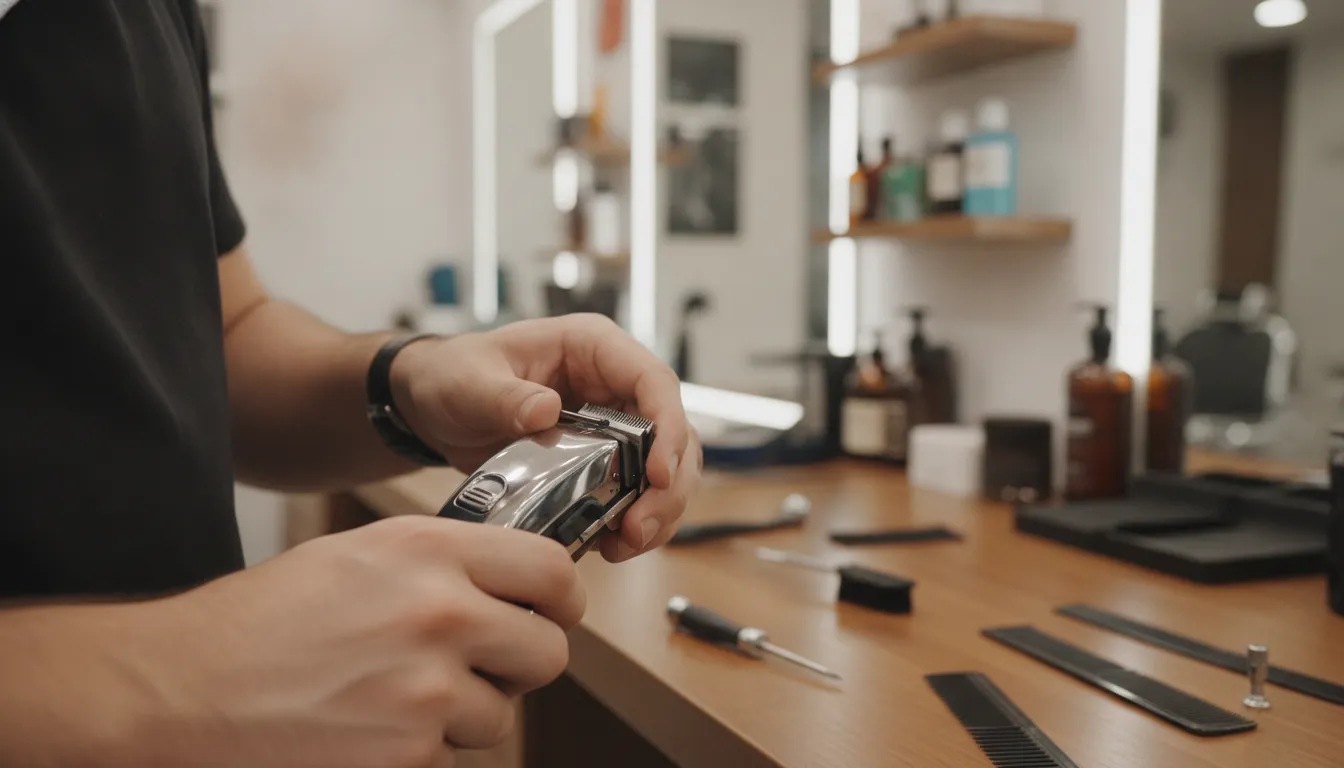
Blade alignment is one of the most overlooked maintenance tasks in a busy barbershop. When the cutter and comb blades are not parallel, the clipper can pull hair, cut unevenly, and create unnecessary discomfort for the client. Hair trapped behind the sliding blade can also cause double-cutting and accelerate dulling, so alignment starts with clean, properly maintained equipment. For a broader maintenance routine, review this guide to aligning clipper blades for optimal performance.
Stop by The Barber Company in Las Vegas for professional blade maintenance when DIY adjustments are not enough.
Learning how to align clipper blades means positioning the moving cutter blade parallel to the stationary comb blade, with the cutter teeth set slightly behind the comb teeth. That small setback protects the skin while keeping the clipper cutting cleanly and consistently.
Before turning a screwdriver, it helps to understand what alignment controls, why the setback matters, and how a small positioning error affects the finish of a haircut.
What Is Blade Alignment and Why Does It Matter?
Blade alignment is the precise positioning of a clipper’s moving cutter blade against its stationary comb blade. The two blades should sit parallel, with the cutter teeth slightly behind the comb teeth. Correct alignment keeps the cutting edge controlled, reduces pulling and uneven results, and helps the clipper operate without unnecessary heat or wear.
Alignment is a physical relationship between the blade components, not the same thing as lever position or blade tension. The cutter blade slides rapidly across the comb blade, and both rows of teeth must remain parallel as they meet. The cutter also needs a small, even setback so its teeth do not project dangerously beyond the stationary blade. That geometry creates a predictable cutting edge for fades, tapers, bulk removal, and detail work.
For a barber, small alignment errors become visible quickly. If one side sits farther forward than the other, the clipper can remove hair unevenly across its width. If the cutter is too far forward, it may feel harsh against the skin or catch hair instead of cutting cleanly. If it is too far back, the clipper may leave hair behind and force repeated passes. Alignment should therefore be checked whenever blades are removed, replaced, dropped, or adjusted.
How misalignment affects cutting performance
Pulling is one of the clearest warnings. A University of Tennessee maintenance fact sheet identifies dull or poorly maintained clippers as a leading source of frustration and reduced clipper life, while noting that blade problems can contribute to discomfort and poor cutting performance. A misaligned edge can produce a similar experience even when the motor is functioning correctly: the clipper drags, skips, or requires pressure that should not be necessary.
Misalignment can also increase heat because the blade assembly is not moving cleanly against its intended surfaces. Continued use under those conditions adds wear to the cutter, comb, and drive components. Before blaming the motor, inspect the blade relationship and clean the assembly.
Clean behind the sliding blade before judging alignment
Hair trapped behind the moving blade changes how the cutter seats and can create a false alignment problem. The same University of Tennessee guidance warns that trapped hair can cause double-cutting and rapidly dull the blade. Remove debris, clean the blade surfaces, and then inspect the parallelism again. For a broader maintenance workflow, clipper blade alignment is a core maintenance skill alongside cleaning, lubrication, and routine inspection.
When the blades remain uneven after cleaning and careful adjustment, stop forcing the issue. A damaged blade, stripped screw, or worn drive may require technical service rather than another alignment attempt.
How to Tell If Your Clipper Blades Are Out of Alignment
Learning how to align clipper blades starts with recognizing when the cutter and comb blade are no longer working in parallel. Uneven lines, snagging, heat, and post-cut irritation can all point to an alignment problem, although dull, dirty, or damaged blades can create similar symptoms.
A misaligned clipper often gives feedback before the problem becomes obvious. Watch for these changes during a normal cut:
- Uneven cutting: The clipper leaves patches of hair behind, creates inconsistent bulk removal, or cuts cleanly only at certain angles.
- Hair pulling or snagging: Hair catches instead of feeding smoothly through the teeth. Misalignment and poor maintenance are recognized causes of diminished cutting performance and discomfort, including hair pulling. Read the University of Tennessee maintenance guidance for the underlying blade-care warning.
- A visible gap or crooked edge: With the clipper switched off and unplugged, inspect the cutter blade against the stationary comb blade. The teeth should sit evenly and parallel. A widening gap on one side, overlapping teeth, or a visibly skewed cutter is a strong sign that the assembly needs attention.
- Excess heat: A clipper that becomes unusually hot during a short service may be working harder because the blades are rubbing, dragging, or carrying debris. Stop and inspect it rather than continuing through a full cut.
- Skin irritation: Clients may report extra scratching, pinching, or razor-like irritation after a fade. Do not assume alignment is the only cause. Dull teeth, damaged corners, insufficient lubrication, or an overly aggressive setting can produce the same result.
Use a simple cutting test
After cleaning loose hair from the blade assembly, run the clipper briefly across a folded paper towel or a small, controlled section of hair. A properly aligned blade should move steadily and cut consistently. Skipping, repeated passes, snagging, or a change in sound indicates that the blades need inspection. Keep the test short if the housing is already hot.
Check the lever at more than one position
Move the taper lever slowly from closed to open while the clipper is switched off, then repeat the short test at each setting. If the clipper cuts smoothly in one position but pulls or skips in another, the cutter may be shifting unevenly or sitting out of parallel. Hair trapped behind the sliding blade can also cause double-cutting and accelerate dulling, so clean behind the moving blade before treating every performance issue as an alignment defect. The maintenance reference explains why debris behind the sliding blade matters.
Once the symptoms point to alignment rather than simple debris. The next step is to reset the blades carefully and test the result before returning the clipper to service.
How to Align Clipper Blades at Home: A Step-by-Step Walkthrough
To realign clipper blades, clean the assembly, reinstall each component correctly, set the cutter blade slightly behind the comb blade. Align the teeth from left to right, and tighten both screws evenly. This method restores consistent cutting without forcing the blades into a damaging zero-gap position.
Work on a cool, unplugged clipper with a clean towel beneath it. If your model uses a different blade system or has damaged hardware, follow the manufacturer’s instructions or stop and seek professional service.
- Gather the tools. Set out a Phillips screwdriver that fits the blade screws, clipper oil, a cleaning brush, and a simple setback gauge. A dime can approximate the 1/32-inch to 1/16-inch spacing, or you can use one to two credit-card thicknesses as a visual reference. Keep the screws and small spring parts together so nothing is lost during disassembly.
- Remove the blades safely. Unplug the clipper and hold the blade assembly firmly while loosening the screws. Do not pry against the housing or allow the blade to drop onto a hard surface. For a more detailed removal sequence, follow this guide to remove your blades before realignment.
- Clean the complete blade assembly. Brush hair and debris from the comb blade, cutter blade, spring, socket, and the area behind the sliding blade. Hair trapped behind that moving blade can contribute to double-cutting and accelerated dulling. Clean before lubricating, as recommended by the University of Tennessee’s clipper-maintenance guidance: surface blades should be cleaned before lubricant is applied. Once the surfaces are clean and dry, apply only a small amount of clipper oil where the manufacturer specifies.
- Reassemble the blade components. Insert the spring into its socket first. Slide the blade guide under the spring, then place the cutter blade on the comb blade’s rail. Position the spring assembly on top, keeping the cutter seated so it can move freely without binding. Start both screws by hand, but leave them loose enough for adjustment.
- Set the front-to-back setback. Move the top cutter blade so its teeth sit approximately 1/32 inch to 1/16 inch behind, and parallel with, the bottom comb blade teeth. Wahl describes this spacing as about the width of a dime. One to two credit-card thicknesses is another practical visual gauge. Do not let the cutter extend past the comb blade, because an exposed top edge can create an unnecessarily aggressive cut and increase the risk of skin contact.
- Align the teeth from left to right. Look straight at the blade tips and position the extreme left tooth of the top blade directly over the first tooth of the bottom blade. Keep the two rows parallel as you check the center and right side. The goal is an even relationship across the entire blade, not alignment at only one corner.
- Tighten the screws alternately. Hold the assembly in position while tightening the left and right screws in small alternating turns. Tightening one screw completely before the other can pull the blade out of alignment or create uneven pressure. Recheck the setback and parallel position after both screws are snug.
- Test the clipper. Reattach the blade securely, run the clipper briefly, and listen for unusual scraping or vibration. Pass the moving blade over a folded paper towel or a small clean section of hair to check for smooth cutting and snagging. If the blade shifts, runs unusually hot, pulls hair, or cannot hold alignment, stop using it and have the clipper inspected. If the blade position is correct but the cut still feels harsh, review this guide to adjusting blade tension after alignment.
Realignment is not the same as zero gapping. Keep a safe setback for routine home adjustment, and do not chase an ultra-close position if the blade assembly, screws, or clipper housing is worn.
Blade Alignment vs. Zero Gapping: Understanding the Difference
Blade alignment positions the cutter and stationary blade parallel with a safe setback for everyday cutting, while zero gapping moves the cutter much closer for ultra-close fades. Alignment must be correct before zero gapping, because a close setting cannot compensate for blades that are uneven, twisted, or improperly seated.
Standard alignment is the baseline adjustment for most clipper work. The moving cutter blade is typically set about 1/32 to 1/16 inch behind the stationary comb blade. That setback allows the clipper to cut efficiently while reducing the chance of direct skin contact. It also leaves room to use guards for length control and protects the client when the clipper is used across the scalp or around sensitive areas.
Zero gapping is a specialized setting, not simply a more precise version of routine alignment. The cutter is brought extremely close to the stationary blade so the clipper can produce a tighter finish without a guard. The Barber Company’s professional service adjusts blades to tolerances of 0.1mm to 0.4mm. That range demands careful inspection, parallel blade positioning, and controlled tightening. A setting that is too aggressive can scrape or nick skin, especially when the clipper is angled incorrectly or used with excessive pressure.
| Adjustment | Cutter position | Best use | Skin and guard considerations |
|---|---|---|---|
| Standard alignment | Approximately 1/32 to 1/16 inch behind the comb blade | Normal cutting, tapering, and guarded work | Creates a safer setback and supports guard use without direct cutter-to-skin contact |
| Zero gapping | Approximately 0.1mm to 0.4mm from the comb blade | Ultra-close fades, outlines, and detail work | No guard is required, but direct skin contact is possible and technique must be controlled |
Why alignment comes first
Before attempting a zero gap, confirm that both blades are clean, parallel, and seated evenly. If one side sits higher, the teeth are misaligned, or the screws pull the assembly out of position, reducing the gap can make the defect more dangerous. You may get an uneven cut on one side and excessive exposure on the other.
For a deeper explanation of the critical difference between alignment and zero gapping, review the dedicated guide before making a close adjustment. If the blades will not hold position after tightening, stop rather than forcing the setting. A professional inspection can identify worn hardware, warped blades, or a tension problem that basic alignment will not solve.
When to Skip DIY Alignment and Bring Your Clippers In
Answer: DIY alignment is appropriate for a clean, undamaged blade assembly with intact screws and a smoothly running motor. Stop adjusting at home when hardware is stripped, blades are bent or cracked, the motor surges, or the blades fall out of alignment after every cleaning. Those symptoms require inspection, repair, or replacement rather than more tightening.
Alignment can correct the position of healthy blades, but it cannot make damaged metal straight or restore a worn drive system. Continuing to work through a defect may create uneven cutting, snagging, excess heat, or skin irritation. It can also turn a manageable repair into a larger equipment problem.
Signs Your Blades Need Professional Attention
- Stripped screw heads: If a screwdriver cannot seat securely, stop before the fastener or blade carrier is damaged further.
- Warped or bent blades: A blade that rocks, twists, or will not sit flush cannot be corrected reliably with setback adjustments.
- Cracked or missing teeth: Do not put a chipped cutter or comb blade against a client’s skin. Replace it or have the assembly assessed.
- Repeated misalignment: If the blades shift out of position after each cleaning, the screws, mounting surface, blade carrier, or tension may be worn.
- Motor problems: Grinding, surging, stalling, unusual vibration, or an inability to run smoothly points beyond a simple blade adjustment.
A sharp blade and a properly maintained clipper support consistent, precise work. Regular maintenance and sharpening also help extend the functional life of professional clipper units, but only when the underlying parts remain safe and serviceable.
What Professional Service Includes
The Barber Company can inspect the complete cutting system instead of treating the visible blade gap in isolation. Technical service may include professional blade sharpening, clipper motor repair, and precision zero gapping. Professional zero gapping is a close-tolerance adjustment, typically set between 0.1mm and 0.4mm when the clipper and intended service call for it.
Bring the clipper, blade assembly, and any loose hardware to the storefront so the technician can evaluate the condition together. For local assistance, use The Barber Company’s professional clipper repair services in Las Vegas. This is the safer route when alignment keeps changing or a mechanical fault is affecting smooth operation.
Zero Gapping Service in Las Vegas: Precision Adjustment for Pros
Professional zero gapping sets a clipper’s moving and stationary blades to an extremely close, controlled tolerance for cleaner lines and closer finishing work. The Barber Company adjusts clipper blades to 0.1mm-0.4mm tolerances in Las Vegas, with additional sharpening and motor repair support for barbers across the valley.
What Zero Gapping Does for Your Cuts
Zero gapping reduces the distance between the cutting edges so a clipper can create a tighter finish on fades, lineups, and detail work. It is not the same as simply learning how to align clipper blades. Alignment establishes a safe, parallel relationship between the cutter and comb blades. Zero gapping then brings that setup closer while preserving controlled blade movement.
That distinction matters. A blade that is set too aggressively can irritate skin, nick a client, or perform inconsistently. A technician must also account for blade condition, screw tension, lever position, and the clipper’s mechanical health. The Barber Company’s service is built for barbers by barbers, with practical attention to the way equipment performs during a full day behind the chair.
Other Clipper Maintenance Services We Offer
Zero gapping is only one part of keeping professional tools ready for work. The Barber Company also provides professional blade sharpening to restore a usable cutting edge and clipper motor repairs when the unit is losing power, running inconsistently, or showing mechanical problems. Regular maintenance can extend the functional life of professional clipper units, while cleaning and proper lubrication help protect the blade assembly between service visits.
Service is available for major professional brands, including Wahl, Andis, Gamma+, BaByliss Pro, and StyleCraft. Bring your equipment to the Las Vegas storefront or call (702) 900-9972 to discuss the adjustment or repair it needs. The team serves barbers throughout Las Vegas, Henderson, and North Las Vegas, and customer support is available in Spanish: HABLAMOS ESPANOL.
Need supplies while your equipment is being serviced? Shop professional barber equipment and blade-care products online or visit the store. Free local delivery is available on orders over $50 throughout the Las Vegas valley.
Frequently Asked Questions
How do you fix misaligned clipper blades?
Unplug the clipper, remove the blade assembly, and clear hair or debris from behind the moving cutter. Reinstall the blades, then set the top cutter slightly behind and parallel to the stationary comb blade. Test the clipper on a small section of hair. Persistent pulling, uneven cutting, or visible blade damage indicates that professional adjustment is safer.
How do you reassemble clipper blades?
Place the moving cutter and spring or support components in their original positions. Align the blade holes with the housing, and start both screws before tightening either one fully. Keep the cutter parallel to the comb blade while tightening the screws alternately. Confirm that the lever moves normally and that no blade edge extends beyond the stationary blade.
What setback should clipper blades have after alignment?
For a standard alignment, the top cutter teeth should sit approximately 1/32 to 1/16 inch behind the bottom comb teeth and remain parallel. This is the range recommended in Wahl Professional’s blade-alignment guidance: Wahl Professional blade alignment instructions. A credit card thickness can provide a rough visual check, but it is not a precision measurement.
When should clippers be professionally zero gapped?
Seek professional service when the blades repeatedly shift, screws or threads are damaged, the blades are warped, or alignment does not resolve heat, pulling, or uneven cutting. Zero gapping is a closer adjustment than standard alignment and requires careful control to avoid skin contact. The Barber Company services can adjust professional clippers to approximately 0.1mm to 0.4mm tolerances.
Ready to Get Your Clippers Cutting Cleanly?
If alignment issues continue after cleaning and adjustment, professional service can help protect your clipper performance and prevent repeated troubleshooting. Visit The Barber Company in Las Vegas for professional clipper blade service, precision zero gapping, and the barber supplies you need for daily work. You can also call (702) 900-9972 with questions about your clipper service needs.