
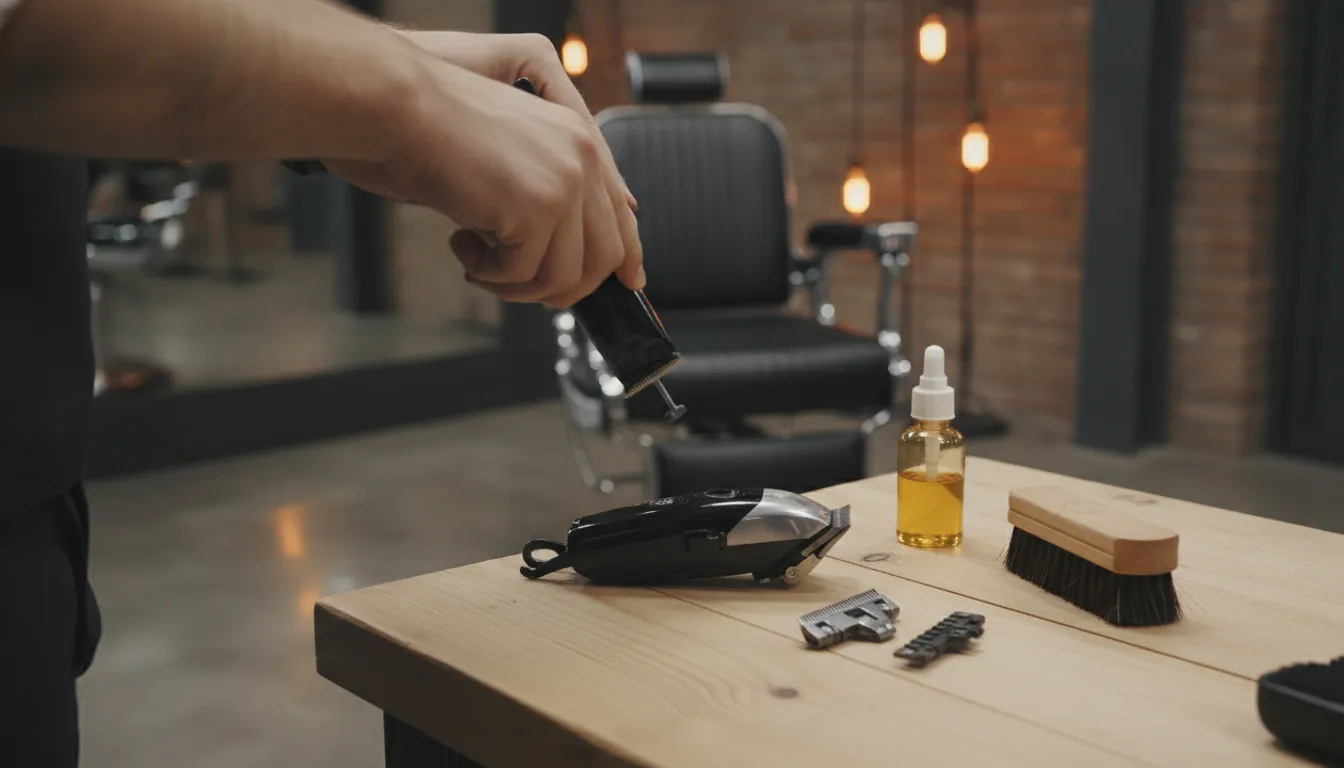
Removing a clipper blade is a small maintenance job with real consequences: a slipping screwdriver. Powered motor, or misplaced spring can damage the tool or create a sharp edge hazard. Start with the clipper unplugged, identify whether it uses a detachable blade or fixed blade assembly, and keep the manufacturer’s instructions nearby. Some models are not designed for user removal of blade screws.
Stop by The Barber Company in Las Vegas for professional blade maintenance and repair support.
Learning how to remove clipper blades safely means matching the removal method to the model. Securing the tool before touching the fasteners, and keeping track of every spring and screw. Once the assembly is off, you can inspect, brush away hair, deep clean, and decide whether the blade needs sharpening or replacement.
The safest process begins before the first screw turns. Prepare your workspace, protect your hands, and confirm what the manufacturer allows for your specific clipper before moving into the removal steps.
Safety First: What to Do Before Removing Clipper Blades
Before you learn how to remove clipper blades, make the clipper safe to handle and give yourself enough workspace to control small parts. Turn the clipper off, unplug it from the wall, and remove any detachable battery or charging connection if the model allows it. Do not work on a clipper that can start unexpectedly while your fingers are near the blade assembly.
Confirm that the blade is user-removable
Check the manufacturer instructions for your exact model before loosening anything. Clippers differ by brand and construction. Some use a detachable blade assembly, while others have fixed blades or model-specific release procedures. Manufacturer guidance is especially important because certain Wahl instructions warn that the blade screws should never be removed by the user. Removing those screws can turn a simple cleaning job into a difficult reassembly or tension problem. If the instructions do not clearly authorize screw removal, stop and ask the manufacturer or a qualified technician.
Do not assume that every visible screw is meant to come out. A blade-release button, spring clip, or housing latch may be the correct access point. Keep the model name and manual nearby so you can verify the procedure before applying force.
Set up the tools and work surface
Work on a clean, dry, well-lit surface with enough room to lay the clipper flat. Gather a Phillips screwdriver only if your model instructions call for one, a soft cleaning brush, clipper oil, and a small magnetic tray or parts dish for screws. A tray prevents fasteners from rolling into hair, dust, or the floor. Use the brush to clear loose debris before you begin, rather than pushing buildup deeper into the housing.
Keep a clean cloth available for wiping excess oil after reassembly. When the blade is off, follow the manufacturer’s oiling instructions or review our guide to lubricating blades after removal. Oil should be applied deliberately, not poured into the motor housing.
Why this preparation matters for cordless clippers
Maintenance affects more than cutting comfort. Wahl’s maintenance guidance notes that a dry, dirty, or stiff blade can drastically reduce cordless clipper run time because the motor has to work harder. Cleaning and oiling the blade regularly helps the tool operate under less resistance. If the blade feels seized, the clipper is unusually hot, or the motor sounds strained, do not force the assembly apart. Leave it disconnected and have the model assessed before continuing.
How to Remove Clipper Blades on Wahl, Andis, and Gamma+ Models
The safest way to remove clipper blades depends on whether the model uses a detachable push-off assembly. A 5-in-1 blade, or screws that secure the blade to the housing. Unplug the tool, identify the mechanism, and follow the specific manufacturer instructions before applying force.
Do not assume that every clipper in the same brand family comes apart the same way. Some blades are designed for routine removal, while others are fixed to the housing. If the blade does not release with moderate pressure or the model manual says not to remove its screws, stop rather than forcing the assembly.
| Brand or blade type | Removal method | Tools needed | Difficulty level |
|---|---|---|---|
| Wahl 5-in-1 | Move the adjustment lever to the #40 setting, the last setting on the right, then release the blade according to the model instructions. Wahl specifies the #40 position before removal. | Clean work surface; soft brush for hair. Do not remove blade screws unless the instructions specifically permit it. | Low to moderate |
| Wahl detachable blade | Place both thumbs against the blade teeth and push the blade assembly away from the clipper housing. Keep your fingers clear of the cutting edge. | Usually no tool; soft brush or compressed air for follow-up cleaning. | Low |
| Andis detachable blade | For a push-off design, press your thumbs against the teeth and push the blade away from the housing. For a screw-mounted design, remove only the specified screws with the correct driver. | Usually no tool for push-off blades; correct screwdriver for approved screw-mounted models. | Low to moderate |
| Gamma+ detachable or screw-release | Use the model’s release mechanism. Detachable assemblies generally push away from the housing, while screw-release assemblies require loosening the designated fasteners without disturbing other components. | Usually no tool for detachable blades; correctly sized screwdriver for screw-release models. | Low to moderate |
For a detachable blade, brace the clipper body securely and push straight away from the housing rather than twisting the blade sideways. A controlled push protects the blade mount and helps keep the assembly aligned for reinstallation. Once removed, place the blade on a clean surface so hair and debris do not transfer back into the clipper.
Wahl, Andis, and Gamma+ each offer multiple clipper families, so the table is a practical starting point, not a substitute for the manual for your exact model. The Barber Company is an authorized distributor of these professional brands and can help identify the correct replacement blade or removal approach. If a screw-mounted blade resists removal, the fastener is damaged. Or the clipper still cuts poorly after cleaning, bring it in for technical guidance instead of risking the housing.
For manufacturer-specific details, review Wahl’s 5-in-1 blade cleaning instructions and its detachable blade assembly guidance.
What to Inspect When Clipper Blades Are Off
Learning how to remove clipper blades is only half of proper maintenance. Once the blade assembly is detached, inspect each contact point before cleaning, oiling, or reinstalling it. Look for trapped hair, damaged teeth, a loose tension spring, an unstable mount, or a worn drive pin that could affect cutting performance.
Work over a clean, well-lit surface so small parts do not disappear into hair or dust. Start by checking the underside and the gap between the moving and stationary blades. Packed hair and debris can restrict blade movement, while regular deep cleaning helps prevent buildup that can damage blade edges and shorten tool life. A soft cleaning brush is usually the safest first choice. For stubborn material, use short bursts of compressed air, directing debris away from the clipper body. These methods are consistent with the manufacturer’s cleaning guidance for detachable blade assemblies.
For a fuller cleaning process, follow this guide to deep cleaning your clipper blades before applying fresh oil.
Check the teeth and cutting surfaces
Examine every blade tooth for chips, bends, cracks, or visibly uneven wear. Run a fingertip near the blade, not across the sharp edge, and replace or professionally service any assembly that appears damaged. Do not assume oil will correct a chipped tooth or a cutting surface that no longer meets evenly. A blade that snags hair, pulls during a cut, or leaves inconsistent lines needs closer evaluation before it returns to service.
Examine the spring, mount, and drive pin
The tension spring keeps the top blade in proper contact with the bottom blade. Confirm that it is seated correctly, not distorted, and not visibly weakened. If the clipper remains noisy or cuts incorrectly after cleaning and oiling, the spring may need professional assessment rather than repeated adjustment.
Next, inspect the blade assembly mount for cracks, looseness, or deformation. The mount holds the blade components together, so damage can create movement even when the teeth look acceptable. Finally, check the drive pin, the small component that transfers the motor’s movement into the moving blade. Look for obvious rounding, looseness, or unusual wear. If any part is questionable, keep the clipper out of service until the correct replacement or repair is confirmed.
How to Clean Clipper Blades After Removing Them
Once the blade is detached, clean it in a controlled sequence: remove loose hair. Clear packed debris, disinfect the surfaces, oil the moving contact points, and wipe away residue. This routine protects cutting performance, reduces friction, and helps prevent buildup that can damage blade edges over time.
-
Brush away loose hair and debris
Hold the removed blade over a clean work surface and use a stiff-bristled cleaning brush to work through the blade teeth, hinge points, and surrounding housing. Brush in the direction that lifts hair out of the assembly rather than packing it farther between the teeth. Take your time around the moving blade and the lower blade, where small clippings can remain hidden.
-
Clear stubborn material with compressed air
Use compressed air or an air duster for debris that remains in tight spaces after brushing. Apply short bursts from an angle so loosened hair exits the blade assembly instead of being driven deeper into it. Keep the nozzle at a reasonable distance and follow the air duster and blade manufacturer’s instructions. Compressed air is especially useful around narrow gaps and packed hair.
-
Disinfect and wipe the blade
Apply an appropriate clipper-blade disinfectant spray according to its label, covering the cutting surfaces and other areas that contact hair or skin. Allow the product to work for the labeled contact time, then wipe the blade clean with a dry, lint-free cloth. Do not leave the assembly wet. Moisture left on metal surfaces can contribute to corrosion and affect smooth blade movement.
-
Oil the blade teeth and contact points
Apply one or two drops of clipper oil across the blade teeth and at the manufacturer’s recommended oiling positions. Oil reduces friction and heat buildup during extended use, while regular lubrication helps the moving blade travel smoothly. Use clipper oil designed for this purpose, not a heavy household lubricant. If your model specifies different oiling points, follow its manual.
-
Remove excess oil before reassembly
After distributing the oil, wipe away any excess from the blade teeth, edges, and housing with a clean cloth. The blade should have a light protective film, not a visible coating that can attract hair and dust. Before reinstalling it, inspect the teeth for damage and confirm that no loose debris remains. For the broader professional clipper maintenance routine, use daily, weekly, and monthly checks rather than waiting for buildup to affect performance.
Regular deep cleaning removes hair and residue before they accumulate around the cutting edges. If the clipper remains noisy or cuts poorly after cleaning and oiling. Stop using it and have the blade or tension system assessed instead of forcing the assembly back into service.
Reinstalling Clipper Blades: Alignment and Fit Tips
After you learn how to remove clipper blades, reinstalling them correctly is just as important. Seat the lower clip in the clipper housing first, then press the upper edge toward the clipper until it clicks into place. Align both blades, tighten the screws evenly, add oil, and test the tool before using it on a client.
Start with the clipper unplugged, switched off, and supported on a stable surface. Hold the blade assembly so you can see the small clip on its bottom edge. That clip must locate in the matching part of the clipper housing. If it sits above the housing or catches on the outside, the blade will not seat correctly.
Once the lower clip is positioned, push the top of the blade assembly toward the clipper body. Apply firm, controlled pressure until the assembly clicks into place. Do not force it at an angle. Remove it and reset the lower clip if the blade feels loose, rocks from side to side, or requires excessive pressure to attach.
Keep the blades parallel
Look across the cutting edge before tightening anything. The moving blade and stationary blade should sit parallel, with no corner projecting noticeably farther forward than the other. Uneven alignment can affect the cutting feel, create a rough finish, and increase the chance of skin contact. Make small corrections while the screws are still loose.
Tighten in a cross pattern
When the blades are parallel, tighten the screws incrementally rather than fully tightening one screw at once. Alternate between the screws in a cross pattern, using a few turns on one side and then a few turns on the opposite side. This distributes pressure across the assembly and helps prevent the blade from shifting as the screws seat.
For a close finish that requires measured adjustment, The Barber Company offers precision zero gapping, with blade adjustments from 0.1mm to 0.4mm. This is a specialized service, not a substitute for careful everyday reinstallation. If the blade will not align, the clipper remains noisy, or it cuts unevenly after cleaning, stop and have the assembly assessed.
Finish by applying clipper oil to the blade according to the manufacturer’s instructions, then wipe away excess oil. Run the clipper briefly and listen for smooth, consistent operation. Check that the blade does not rattle, drag, or heat unusually fast before returning it to service.
When to Replace vs. Reinstall Your Clipper Blades
Removing a blade does not automatically mean it belongs in the trash. If the blade is structurally sound, clean, and still responds well to sharpening and oiling, reinstalling it is usually the right move. Replacement becomes the safer choice when the cutting surface or assembly has sustained damage that routine maintenance cannot correct.
Replace blades with visible damage
Chipped, broken, or missing teeth can create uneven cutting and may expose the client to a sharper, less predictable edge. Rust, deep pitting, or corrosion across the cutting surfaces is another strong replacement signal. Surface discoloration may clean up, but pits that affect the edge or prevent smooth blade movement are not fixed by brushing alone.
Also replace the blade when it still pulls hair, leaves uneven patches, or fails to cut cleanly after proper cleaning, oiling, and professional sharpening. Continuing to use a damaged or dull assembly can make the clipper work harder and compromise the finish. For a more detailed decision process, review when to sharpen vs. replace blades.
Persistent heat points to a deeper problem
A blade that becomes excessively hot during use deserves attention, especially when the heat continues after removing packed hair. Cleaning the assembly, and applying the correct amount of clipper oil. Dry, dirty, or stiff blades increase friction and can force a cordless clipper motor to work harder. If the clipper also sounds noisy or cuts poorly after maintenance. The tension spring or another part of the drive system may need assessment rather than a quick blade swap. Follow the manufacturer instructions for your specific model before disassembling any fixed blade or removing blade screws.
When reinstalling is the better option
Reinstall a blade that has intact teeth, no meaningful rust or pitting, and a smooth cutting surface after cleaning. Remove trapped hair with a soft brush or compressed air, oil the blade according to the manufacturer’s directions, and check the housing before attaching it. The clip on the bottom of the blade assembly must locate correctly in the clipper housing, then the top can be pushed back into place. A poor fit can mimic a damaged blade, so confirm alignment before replacing a serviceable assembly.
The Barber Company offers in-store professional blade sharpening, clipper motor repairs, and precision zero gapping. Zero gapping adjusts the blades within a precise 0.1mm to 0.4mm range. A technician can help determine whether service can restore a usable blade or whether replacement is warranted. For local help, see professional clipper blade replacement services.
Frequently Asked Questions
How do you get a blade off Wahl clippers?
First identify whether the blade is detachable or secured to the housing. On compatible detachable models, press your thumbs against the blade teeth and push the assembly away from the clipper housing. For a Wahl 5-in-1 blade, move the adjustment lever to the #40 setting before removal. Follow the instructions for your exact model because some blade screws should never be removed by the user. Wahl’s cleaning instructions provide model-specific guidance.
What tools are useful for deep cleaning a removed clipper blade?
A soft cleaning brush removes loose hair from the blade assembly without forcing debris into the mechanism. For packed hair in tight spaces, use compressed air or an air duster in short bursts. After cleaning, apply clipper oil as directed for your model and wipe away excess oil. Keeping the blade clean and lubricated helps reduce friction and supports consistent cutting performance.
How do you reinstall a clipper blade after cleaning?
Inspect the blade assembly before fitting it back onto the clipper. Position the clip on the bottom of the assembly in the corresponding part of the clipper housing. Then push the top of the blade toward the housing until it seats correctly. Do not force the assembly. If the clipper is noisy or cuts poorly after cleaning and oiling, stop using it and check whether the tension spring needs assessment.
When should you stop removing the blade yourself?
Stop if the model uses fixed blades, the instructions warn against removing blade screws, or the assembly will not release with the specified method. A damaged edge, persistent noise, poor cutting, or uncertain alignment is also a reason to seek help rather than experiment. The Barber Company provides in-store blade sharpening, clipper motor repair, and precision zero gapping services for equipment that needs technical attention.
Ready to Keep Your Clippers Performing Reliably?
If a blade needs sharpening, replacement, or a more precise fit after cleaning, The Barber Company can help you choose the right next step. Call The Barber Company at (702) 900-9972 to discuss professional clipper supplies, in-store blade sharpening, and maintenance guidance in Las Vegas.